By Michael Pfaltzgraff
“Welding is a violent activity,” he told me.
I realized this summer that I have worked in the bike industry for twenty years. When I started my career, my ultimate goal was to become a bike builder. The only problem? I didn’t posses any of the skills necessary to actually build a bicycle frame.
Years ago, for one of my early jobs, I found myself working as a the general manager of Vicious Cycles. Now what that meant is that I generally managed to do whatever Carl, the owner and builder, needed me to do. When I first started working there, I lived a camper that had been left on the property behind the shop. Carl let me live there rent free until I could get settled in. I was so excited because I saw this as being on the fast track to becoming a builders apprentice, and learn all the magical, tribal knowledge a frame builder accumulates over the years. However, things didn’t turn out that way. Things got busy, and when you are working for a small custom bike company you wear a lot of hats, and you have to hustle a little harder than you anticipate. I learned so many things in my time there, but bike building was not one of them.
I moved on in my career, working for bigger bike companies with different and larger responsibilities. I managed to achieve things in the business I didn’t anticipate or expect. But, the one thing I never did was build a frame, and I had felt for a long time that the opportunity to learn had past. You get older, you get married, you have children, you have more responsibility and naturally some of those pursuits you once had fade away a bit.
After twenty years, I finally did it. This last spring, I had a chance to go take a frame building class the same place I had hoped to learn years ago. Carl Schlemowitz of Vicious Cycles and now Metal Guru, teaches a one-on-one frame building course in upstate New York. A few months before, Carl and I had gotten back in touch, and as bike nerds do, we started talking about bikes. We got into the variety of “adventure bikes” on the market. From “monster cross” to “fat bikes,” there is a lot of interesting stuff out there. I had my own thoughts on what an adventure bike is.
I live in Pittsburgh. Between the rough back streets and outstanding trail systems that stripe the city, I wanted something that fit the personality of the terrain here. A lot of folks in Pittsburgh ride cross bikes and it really is the perfect choice for riding here, but I wanted something a little more substantial. After a few more chats with Carl, a deposit, and dates marked on a calendar, I was off to New Paltz, New York to build this bike I had in my head.
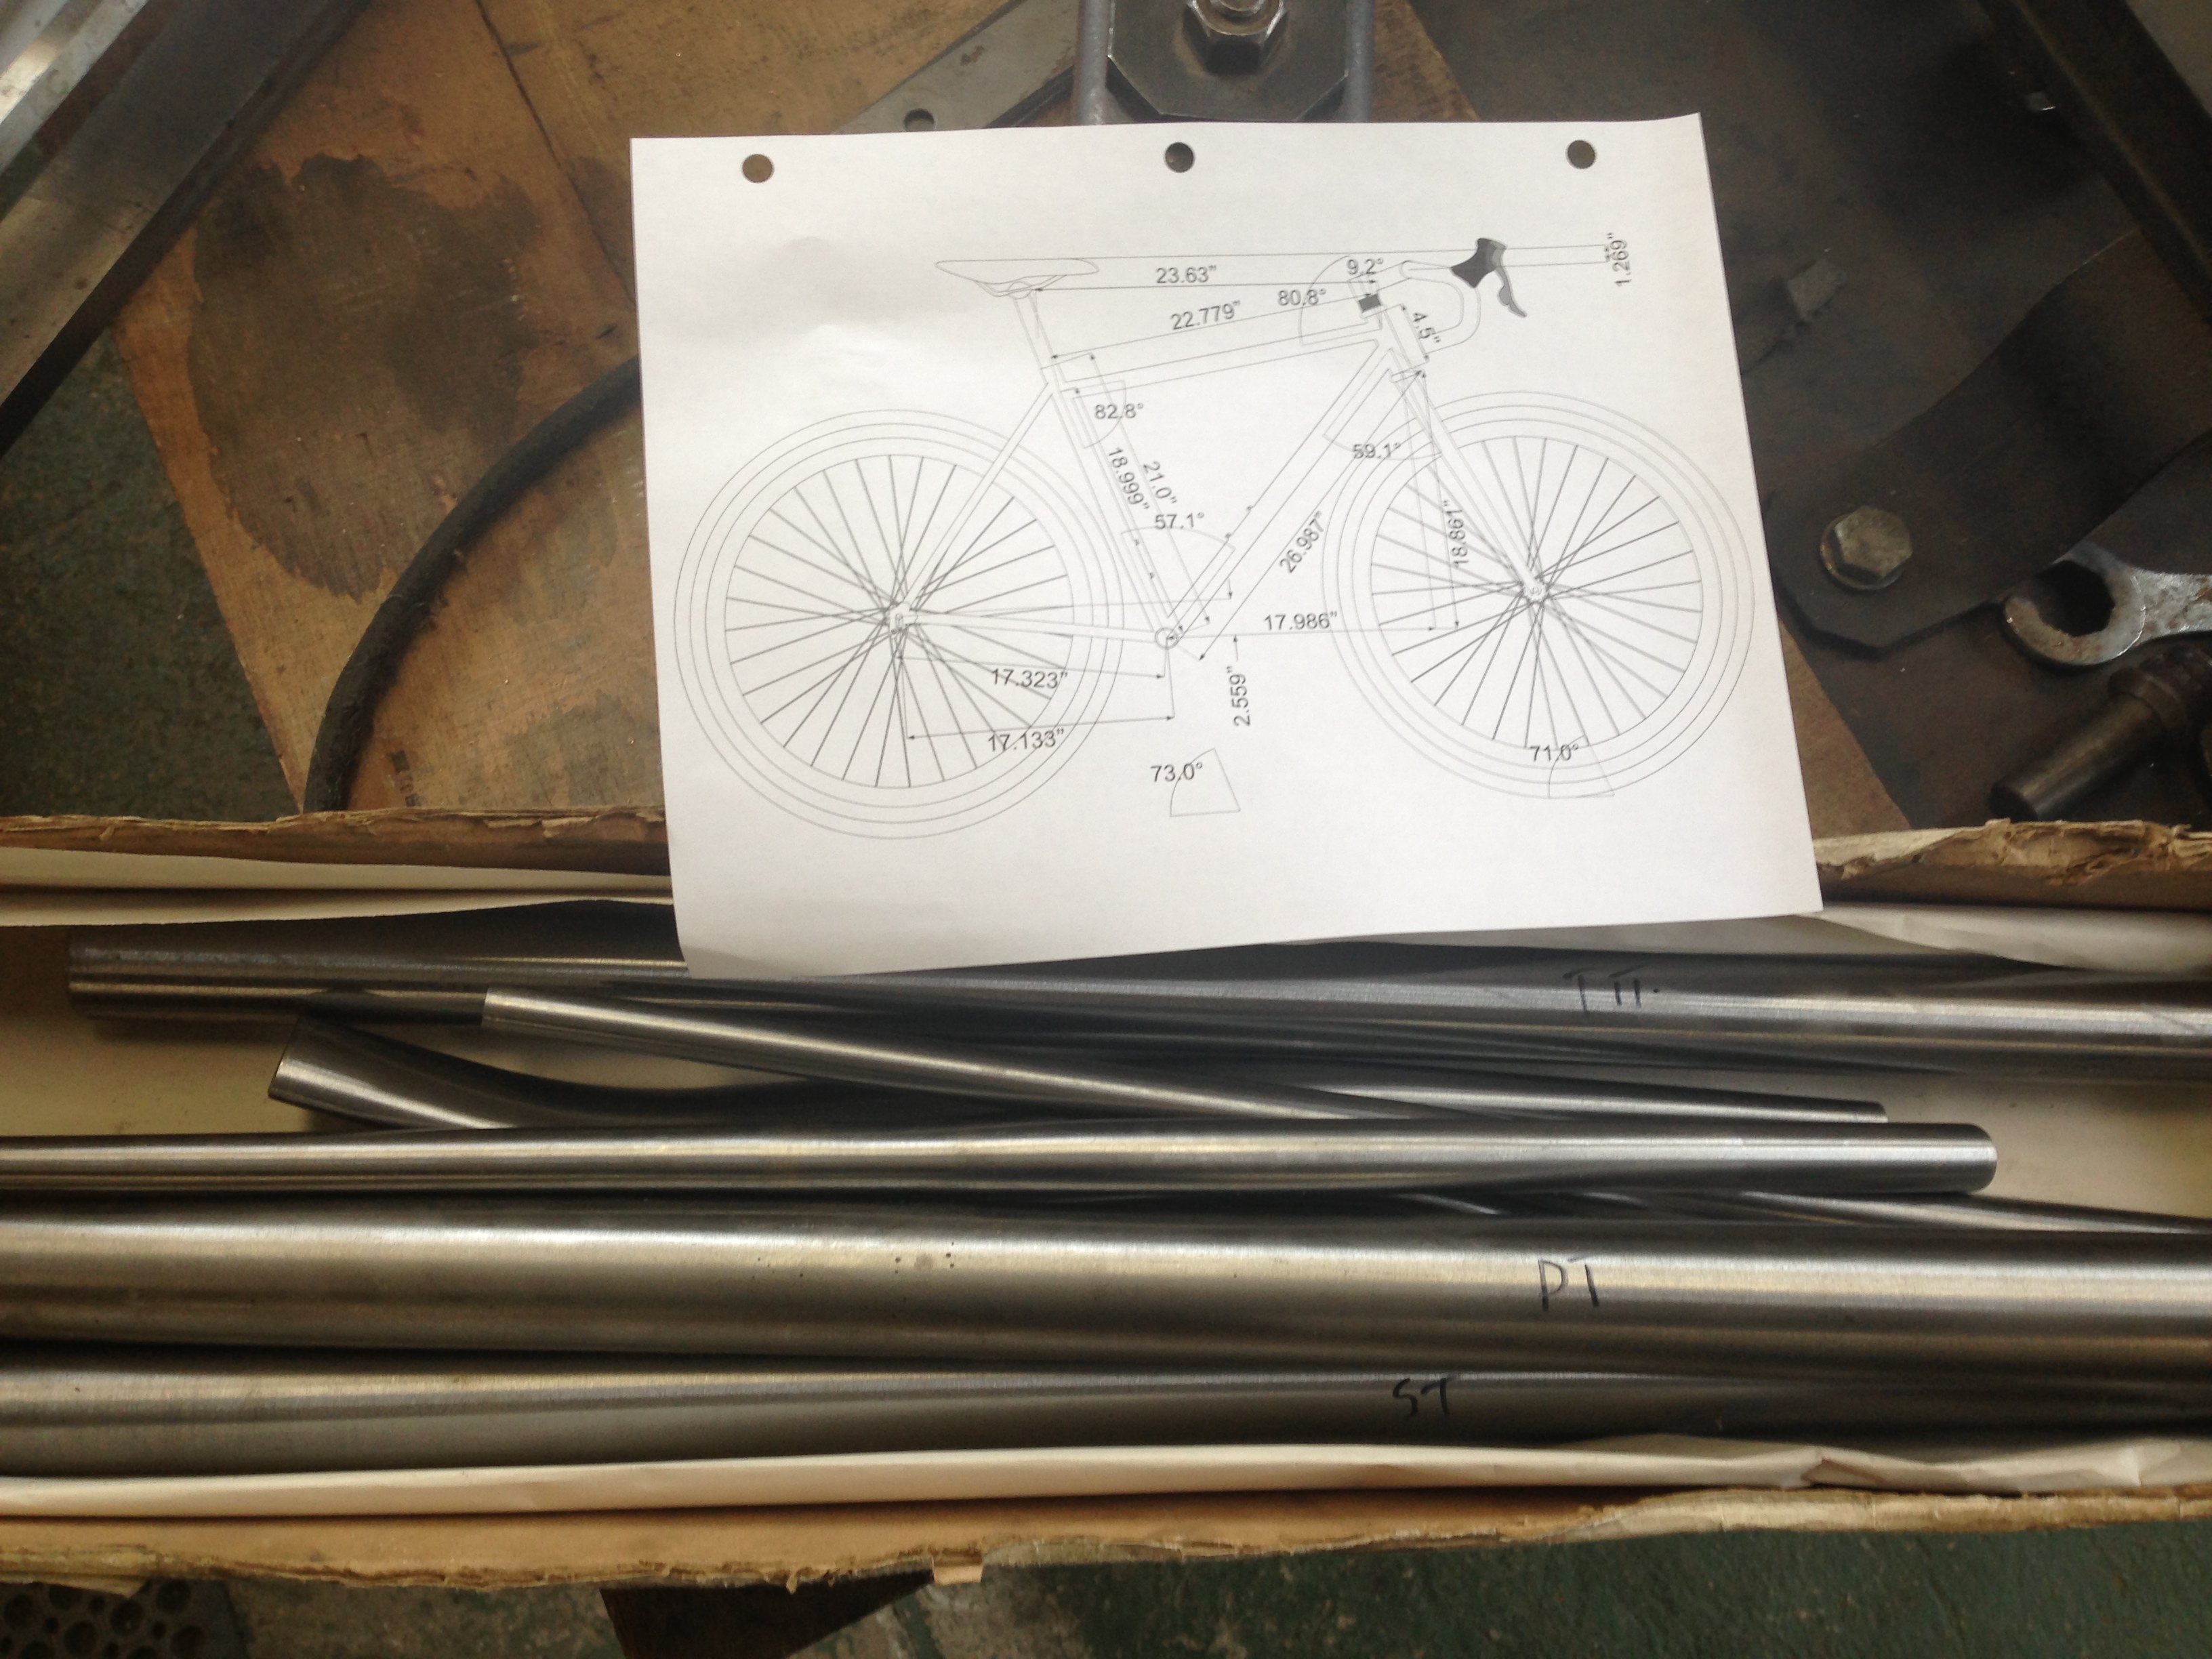
The concept was pretty simple. The idea came from early 29ers back in the late 90’s. I was a big fan of east coast steel builders back in the day. Many of these builders were the first adopters to build 29ers. They had classic geometries, rigid forks, and they were simple and beautiful. The only problem was, early on, wheel and tire options were fairly limited. You couldn’t get wide tires, and even if you could tire clearance would have been an issue. Cut to fifteen years later, and the landscape for 29ers are vastly different now. You look at those old 29ers, and it seems like they might as well have been built fifty years ago. Meanwhile, I kept thinking about this bike that I wanted. I started to write down some attributes; geometry, desired tire size, gears, or no gears? As I was looking at the list I compiled, it occurred to me that this bike idea I had was built fifteen years ago. After much consideration, I wound up basing the design on the Vicious Cycles, Motivator, a classic steel 29er. A few minor modifications were made; such as, I decided to use the Paragon rocker dropouts instead of a sliding dropout. This gave me the option to run single speed hub (current set up) or geared. Also, I had the option of running an ISO mount or direct mount for the disc brakes. Again, no rocket science was involved in the design of this bike. Simple, clean, comfortable, and capable. That’s all it had to be.
The plans we set and the tubes were ordered, and I began the seven-hour drive out to New Paltz. I was getting nervous on the way there. I was obsessing over the welding. I was so afraid my welds were going to look terrible, and I had only welded once before this, and it wasn’t good. As it turned out, Carl was going to have a guest instructor out to help teach a class. Drew Guldalian (Engin Cycles) one of the best builders in the business, came out from his shop in Philly to teach us a thing or to.
“Welding is a violent activity,” he told me. Those words have stuck in my head since. He was absolutely right. You holding a tungsten rod that is heated up to 6,000 degrees and fuse two pieces of steel together. And you have to put your face right next to it so you can see what the hell you are doing. There are so many steps that went into the process of building this bike, but the actual welding was the memory for me, it’s all I remember. For the first few days before we put one weld on the bike, we were practicing welding joints on mitered tubes over and over. I was super timid, and often not getting enough heat on the welds. “Hotter, hotter, hotter!” Drew would say as he was looking over my shoulder, examining my progress. My first few sets of practice welds weren’t looking good, crappy actually. We were three days into the class and welds didn’t look good enough to be under a freeway overpass. But as they say, repetition is the key. Drew was very patient and showed me the subtleties. After that, with each weld I got progressively more comfortable. I would get giddy when I had welded something that looked remotely close to a “stack of dimes,” as they say.
The day came to build the bike. All the tubes were in the jig and it was time to fire up the welder. We tack welded the tubes first and I had the jitters since we were moving from practice to full speed. I couldn’t get my tacks to hold. I was getting frustrated and had to stop for a moment to collect myself. I didn’t want to start off badly, so we started over. Drew wound up applying the first tack, then I had to do the next. This time I got it right and proceeded to tack the rest of the bike. Still nervous, we started at the head tube. I knew this was going to set the tone for how the rest of the day would go. So with the encouragement of Drew, and with timid patience, I slowly applied small sections of weld, and stopped at the moment when I thought it was getting out of control. In the end, I had almost welded an entire bike. But there were a few places where I needed help and just didn’t have the confidence to lay a weld without making the bike look shitty, or worse by blowing big holes into a tube and having to replace the tube altogether. The downtube to bottom bracket joint and the seatstay to seattube joint proved difficult. Because of the wider diameter of the miter, there are extremely thin points on the tube, and in both cases you are welding them to thicker sections of tube that require more heat. This gets tricky. Not enough heat, you get a bad weld that is weak, too much heat, you will blast a giant hole through that thinner tube. And that is exactly what I did. We had reached the area on the downtube where it’s miter butts up against the bottom bracket. Drew warned me about what could happen and gave me the option for him to weld it up front, but I was feeling brave. Sure enough, I started to reach the thinnest point of the tube, and I blasted a ½-inch hole right through the tube. I freaked out and stopped immediately. Drew calmed my nerves and assured me he could fix it. I watched him as he somehow magically stitched up this giant hole in the tube as if it was never there. This is why Drew is a bike-building badass.
After all of that, I was looking at a welded together frame, and it felt wonderful. After braising on guides, bottle bosses, and a couple coats of paint it was ready to build.
The build consists of parts that I’ve had experienced with and chosen over the years. I opted for a single speed build. Paul hubs, laced up on velocity rims, Thompson cockpit, Truvative stylo cranks, mechanical disc, Salsa dirt drops. Plain, simple, and just f’ing awesome.
I love everything about this bike, and it has a great deal of meaning to me as it took me twenty years to actually build it.
Ed. note: Michael Pfaltzgraff designed the newest rendition of the Bike Hugger Kit and our magazine covers. Michael has worked in the bike industry for twenty years. Prior to stating a small design firm, he has been an art director for Gary Fisher, Trek, and Specialized bicycles.
Ed. note: After a good run of 42 issues, our magazine app is no
longer available, but we’ve archived
the content here on our blog.
Also published on Medium.
…We're riding townies, adventure, and mountain bikes. Find recommendations on our store page. As Amazon Associates we earn from qualifying purchases.